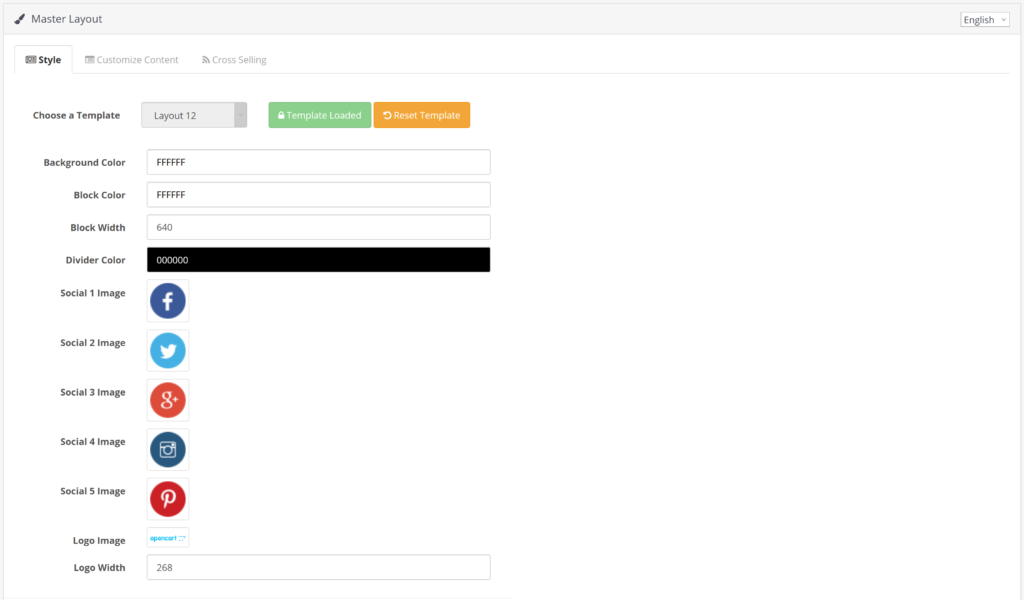
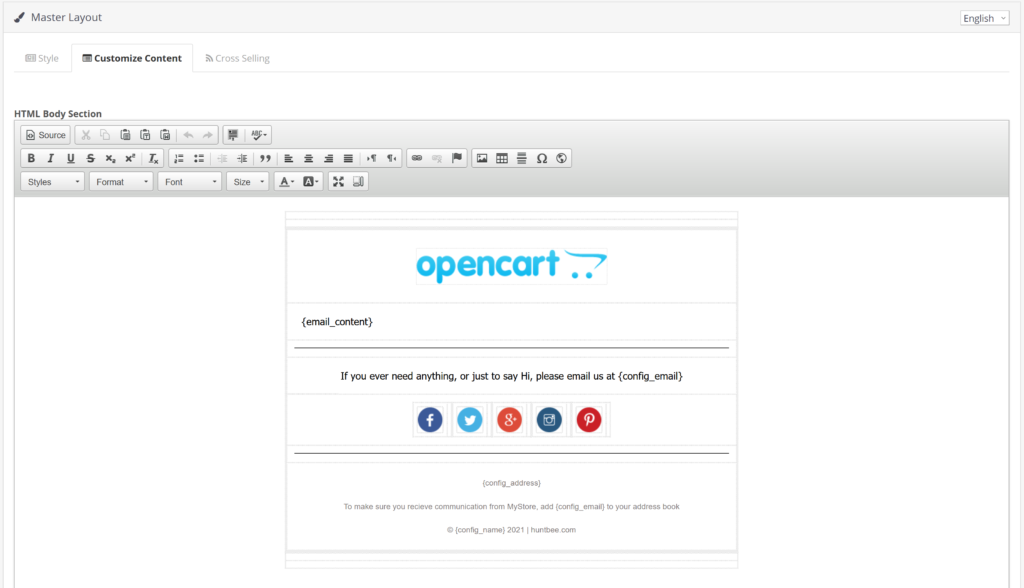
This is a layout that you can use uniformly across all email templates. The content of individual template is fitted into the master layout.
In master layout, you basically design the header and footer section.
Add the short-code {email_content} where the email content will be inserted while sending the email.
Master layout is store and language dependent. Therefore, if you are having multiple languages, you will set master layout to individual langauge. Similarly, if you are having multi-store setup, you will setup master layout for each store.
You cannot assign one master layout to all multi-store and all languages.
Master Layout Setup

- Select a template from the dropdown list and click on Load Template button. This will lock the selected template. This step is a mandatory step. If you do not want to use any pre-defined samples, use the option “Empty Template” from the dropdown list and click on “Load Template” button.
- Once you loaded the template, you can see some customizable options like color, pre-header, images, logo, width, etc (based on the individual sample template configuration). You can change the options and click on “Save Options” button to apply these updated changes.
- If you edit anything in the content area, make sure you click on the “Save” button. If you do not save the content and click on Save Options button, the content in the content area will get reset to the default one.
- The social icons (if available) in the content area, will contain no link or sample link. Therefore, make sure you double click on it, it will open the link popup, and you can set the link here.
- If you want to remove any social icon, right-click on the icon and click on “Delete Table” option. If you see an empty grid, repeat the same process, i.e., right-click on the empty grid area, choose “Delete Table“
- When you insert any image (including the logo), make sure the image link contains no space or special characters in the filename or folder or directory name. Email clients will see these links as a broken link. For Example, a proper image link looks like https://www.mystore.com/directory-name/sub-directory/image-file-name.jpg
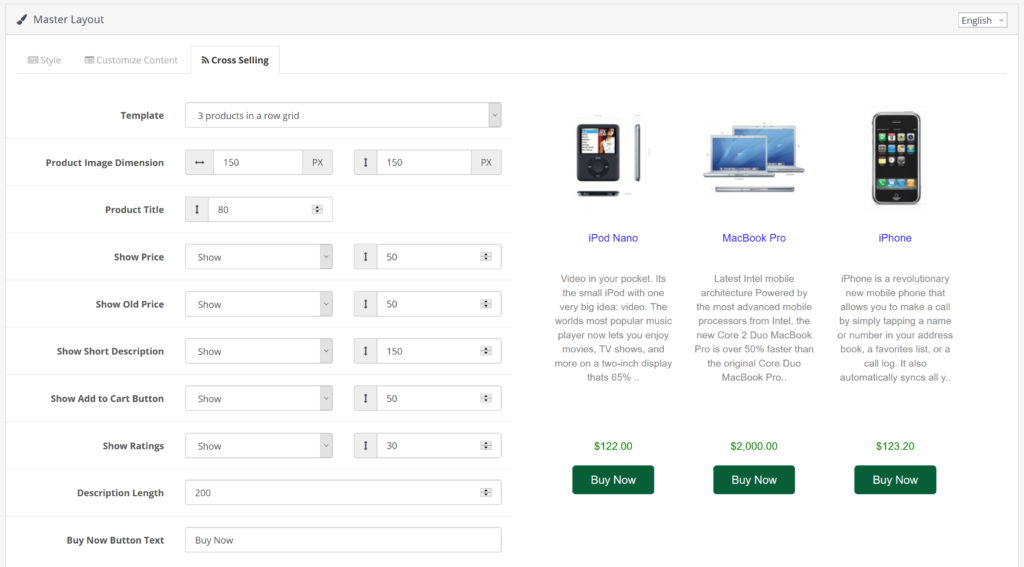
- You can customize the cross-selling products block in the cross-selling tab.
You can create a “Save As” copy of the template by clicking on the “Save As” button at the top right. Enter a label while saving. The saved template will be listed in the template dropdown list.
To change from one template to another template, you will have to click on the Reset Template button first and then you can choose the template. When you click on Reset Template button, all changes made will be cleared from the master layout. Therefore it is suggested to use the “Save As” button to make a copy of the updated changes before you click on the Reset Template.

PRO TIP
It is always a challenging task to satisfy all kinds of email clients like Gmail, Microsoft Outlook, etc. Therefore, making the email look good on all devices is also challenging.
Therefore, try to keep the layout as simple as possible. Keep the background color to white. Keep the content width more than 600px.
This extension is basically created to give more possibilities to customize the order emails. The samples provided in the extension will not guarantee that emails will look good in all kinds of email clients/email browsers.
Cross-Selling Products
To display cross-selling products in the email, you will need to use the respective short-code and also No. of cross-Selling products to display field value should be greater than 0. If it is set to 0, the cross-selling shortcode will not work.


Tracking
You can use your tracking code to track the performance of cross-selling products list sent in the email.

Using Google Campaign Tracking
You can use Google’s campaign URL builder tool (https://ga-dev-tools.appspot.com/campaign-url-builder/) to add the tracking parameters.
Example value
&utm_source=order_status_email_extension&utm_medium=email&utm_campaign=cross_selling_products
Using OpenCart Marketing Tracking
Example value
&tracking=591bfec161698
NOTE: the value must start with a & and do not mention domain URL. You must mention only the get query parameters